
End-to-End Encryption with Let's Encrypt and Cloudflare SSL
Learn how to set up Let’s Encrypt and Cloudflare Universal SSL for full end-to-end encryption, securing the connection from visitors to your server.
Note
For instructions on activating Cloudflare, see the setup guide. For detailed Cloudflare configuration, consult the Cloudflare documentation.
Step 1: Set Up the Domain
Let’s Encrypt requires the domain to resolve to your server’s IP address.
-
If it does not, update the domain’s nameservers to the hosting nameservers for your account.
Important: Hosting is transitioning from Let’s Encrypt to cPanel SSL for new and existing accounts. The certificates are equivalent in trust and validity; the only difference is the browser padlock will display "cPanel Inc" instead of "Let’s Encrypt."
Step 2: Verify Let’s Encrypt Certificate
-
Log in to cPanel.
-
On the Tools page, under Security, click SSL/TLS Status.

-
Locate your domain in the Domain column.
-
A green lock labeled AutoSSL Domain Validated indicates the certificate is installed.
-
If it is not green, the certificate is not installed.
-
Tip: You can also check your certificate using SSL Shopper SSL Checker.
Step 3: Configure Cloudflare
-
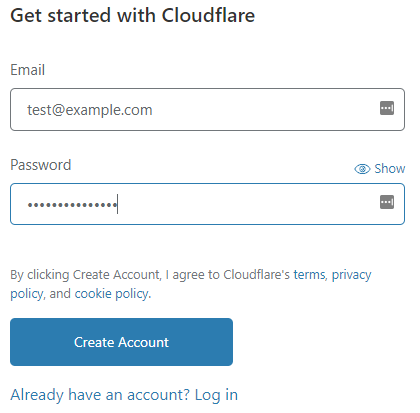
Go to Cloudflare and sign up, or log in if you already have an account.
-
Click Add Site, enter your domain, and click Add site.
-
Select a plan (Free plan recommended for most users) and click Continue. Cloudflare will scan your DNS records.
-
Review DNS analysis results, correct any errors, and click Continue.
-
Note the Cloudflare nameservers provided, then click Done, check nameservers.
-
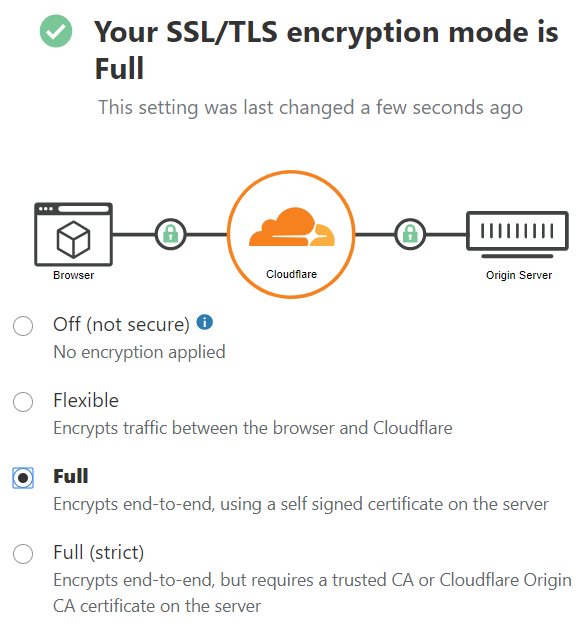
In Cloudflare, go to the SSL/TLS section and select Full or Full (strict) mode.
Important:
-
Full (strict) requires a valid certificate from a recognized Certificate Authority (CA) like Sectigo.
-
You may need to temporarily switch to Full mode when renewing CA-issued certificates to allow domain verification.
Step 4: Update Nameservers and Verify
-
Use your domain registrar’s control panel to update the nameservers to the Cloudflare-provided nameservers.
-
After 24 hours, verify that the domain resolves to Cloudflare IPs and that the SSL certificate is the Cloudflare Universal SSL certificate (
sni.cloudflaressl.com).
More Information
Using Let’s Encrypt with Cloudflare SSL provides quick, free security for your site. For ongoing management or more advanced options, a traditional CA-issued certificate may be more convenient. For further details on differences between Let’s Encrypt and other SSL certificates, see this article.


