Activating Cloudflare
This guide explains how to activate Cloudflare for your website.
Steps to Activate Cloudflare
-
Go to Cloudflare and click Sign Up.
-
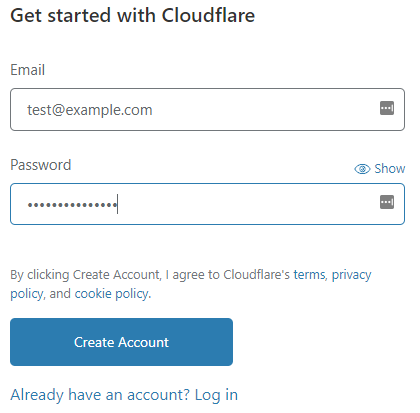
Enter your Email and Password, then click Create Account.
Note: If you already have a Cloudflare account, log in instead of creating a new account.
-
On the Welcome to Cloudflare page, click Add site.
-
Enter your website domain in the text box and click Add site.
-
Select a plan and click Continue. Cloudflare will scan your domain’s DNS records.
Tip: If unsure, start with the Free plan.
-
Review your DNS settings, make any necessary changes, and click Continue.
-
Cloudflare will display the nameservers for your domain. Make a note of them.
-
Update your domain’s nameservers at your registrar to the ones provided by Cloudflare.
Note: The procedure for changing nameservers depends on your registrar:
-
If registered with hosting.com, see their guide.
-
If registered with GoDaddy, see their guide.
-
If registered with OpenSRS, see their guide.
-
For other registrars, follow their documentation.
Cloudflare becomes active once the nameserver changes propagate, usually within 24 hours.
Important
Manage all Cloudflare settings through the Cloudflare website. For guidance, visit Cloudflare Support.
More Information
For additional information, visit Cloudflare.


