Configuring DNS Records for Email in Cloudflare
Learn how to set up DNS records in Cloudflare so your domain’s email works correctly.
DNS Records in Cloudflare
When you add a domain to Cloudflare, it usually scans and imports your domain’s DNS records automatically. However, there may be times when you need to manually add or update records to ensure your email continues to function correctly.
For example, if a domain’s TXT record for SPF is changed or deleted with the domain registrar, Cloudflare may not detect the change, and you would need to add it manually.
Primary DNS Records for Email
The main DNS records related to email are:
-
MX (Mail Exchanger) record: Directs email to your mail servers. Most domains have multiple MX records.
-
SPF (Sender Policy Framework) record: A TXT record used to verify sending servers.
-
DKIM (DomainKeys Identified Mail) record: A TXT record used to authenticate outgoing email.
Steps to Configure DNS Records in Cloudflare
Step 1: Get Current DNS Values from cPanel
-
Log in to cPanel.
-
Note: If you don’t know how to log in, see this article.
-
-
On the Tools page, under Domains, click Zone Editor.

-
Locate the domain and click Manage.
-
Note the values for MX, SPF, and DKIM records.
Step 2: Log in to Cloudflare
-
Go to https://dash.cloudflare.com/login and log in.
-
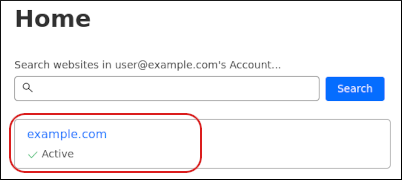
On the Home page, click your domain.
-
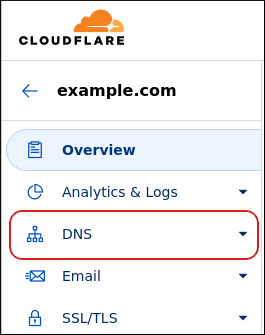
In the left sidebar, click DNS.
Step 3: Add the MX Record
-
In the DNS management section, click Add record.

-
Select MX for the Type.

-
In the Name box, enter the value from cPanel.
-
In the Mail server box, enter the destination from cPanel.
-
Set TTL to Auto.
-
In Priority, enter the value from cPanel.
-
Click Save.
-
Note: Repeat these steps for additional MX records if needed.
-
Step 4: Add the SPF Record
-
Click Add record.
-
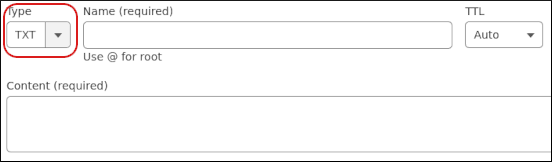
Select TXT for the Type.
-
In Name, enter the value from cPanel.
-
Set TTL to Auto.
-
In Content, enter the SPF record value from cPanel.
-
Click Save.
Step 5: Add the DKIM Record (if applicable)
-
Click Add record.
-
Select TXT for the Type.
-
In Name, enter the DKIM value from cPanel.
-
Set TTL to Auto.
-
In Content, enter the DKIM value from cPanel.
-
Click Save.
Cloudflare is now configured to use your domain’s email settings.


