
Adding Google Authentication (two‑factor authentication, 2FA) to WordPress strengthens your site’s security by requiring a time‑limited code in addition to your password. On ruachost.com, you can enable Google Authentication using the Google Authenticator plugin.
Why Use Google Authentication?
-
Protects against brute‑force login attempts.
-
Adds an extra layer of security beyond passwords.
-
Ensures only legitimate users can access the WordPress dashboard.
Installing the Google Authenticator Plugin
-
Log in to WordPress with an administrator account.
-
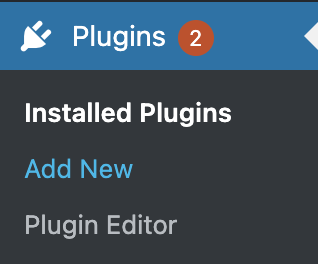
In the dashboard, go to Plugins → Add New.
-
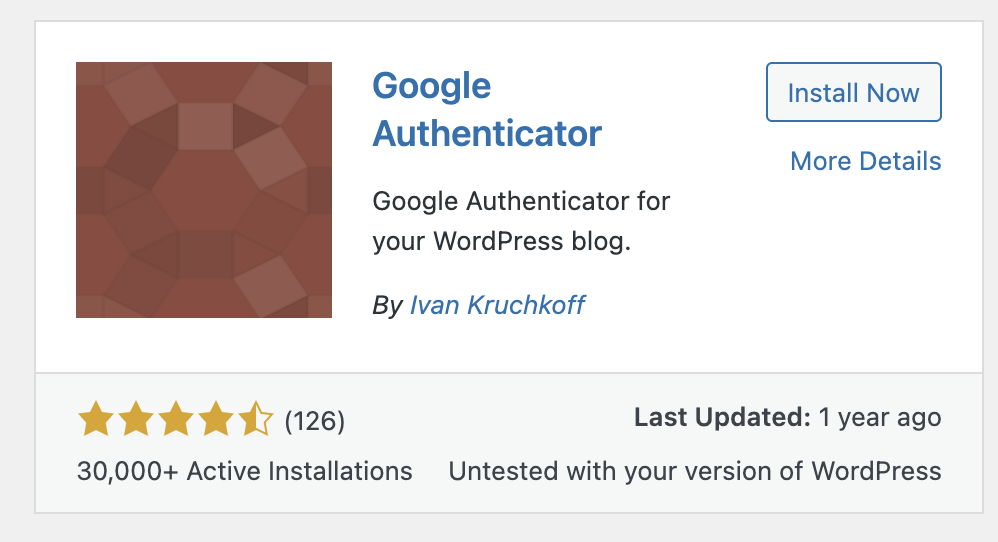
Search for Google Authenticator.
-
Click Install Now, then Activate Plugin.
✅ The plugin is now installed.
⚙️ Configuring Google Authentication
-
Edit Admin Profile.
-
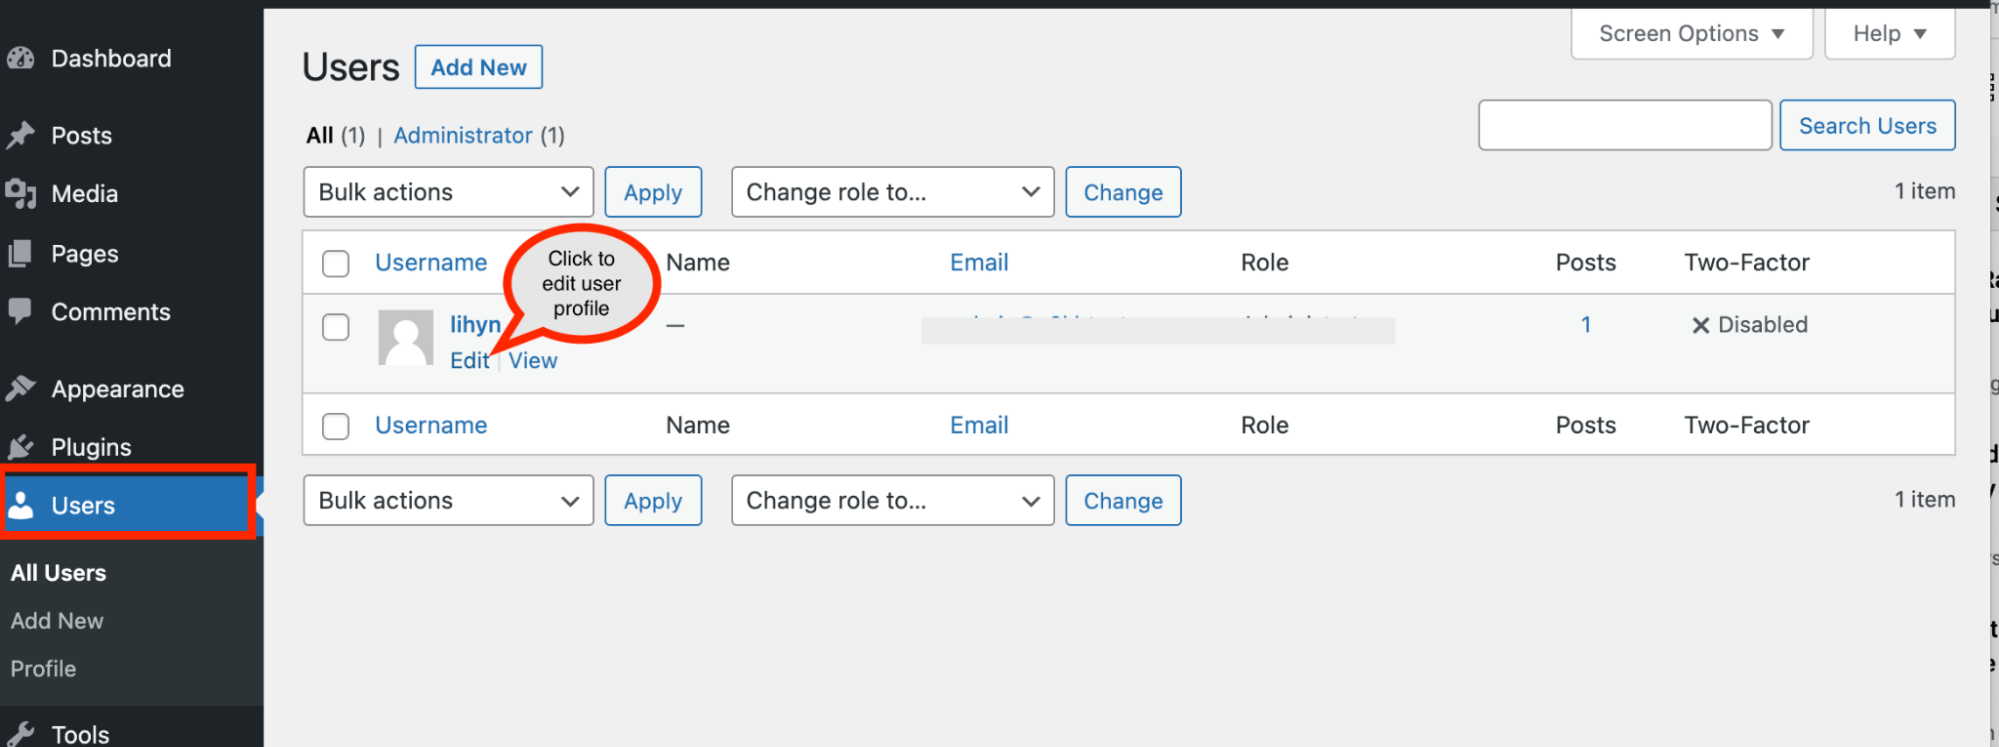
Go to Users → Profile (or Edit Profile).
-
Scroll down to Google Authenticator Settings.
-
-
Enable Authentication.
-
Check the Active box to enable Google Authentication.
-
Optionally enable Relaxed Mode (allows codes to remain valid for up to 4 minutes).
-
-
Set Description and Secret Key.
-
Description → The account name shown in the Google Authenticator app.
-
Secret Key → Used if you cannot scan the QR code.
-
⚠️ Note: iPhone does not accept spaces in the description field.
-
-
Enable App Password (Optional).
-
Use only if your site requires XML‑RPC (remote publishing).
-
-
Save Settings.
-
Click Update User to apply changes.
-
Configuring the Google Authenticator App
-
Install the Google Authenticator app on your mobile device (Android/iOS).
-
Open the app → Tap the + icon → Choose Scan QR code or Enter key manually.
-
Scan the QR code or enter the secret key from your WordPress profile.
-
A 6‑digit code will appear with a 1‑minute countdown timer.
Logging In with Google Authentication
-
On the WordPress login page, enter your username and password.
-
A new field will appear asking for the Google Authenticator code.
-
Enter the 6‑digit code from your app → Access granted.
Notes
|


