OpenCart registration forms include predefined fields (name, email, password, etc.). On ruachost.com, you can add custom fields to capture additional customer information without writing any code.
Why Add Custom Fields?
-
Collect extra details such as company name, tax ID, or preferences.
-
Tailor registration forms to your business needs.
-
Improve customer segmentation and personalization.
Steps to Add Custom Fields in OpenCart
Step 1: Log in to OpenCart Administrator
-
Use your administrator account to access the backend dashboard.
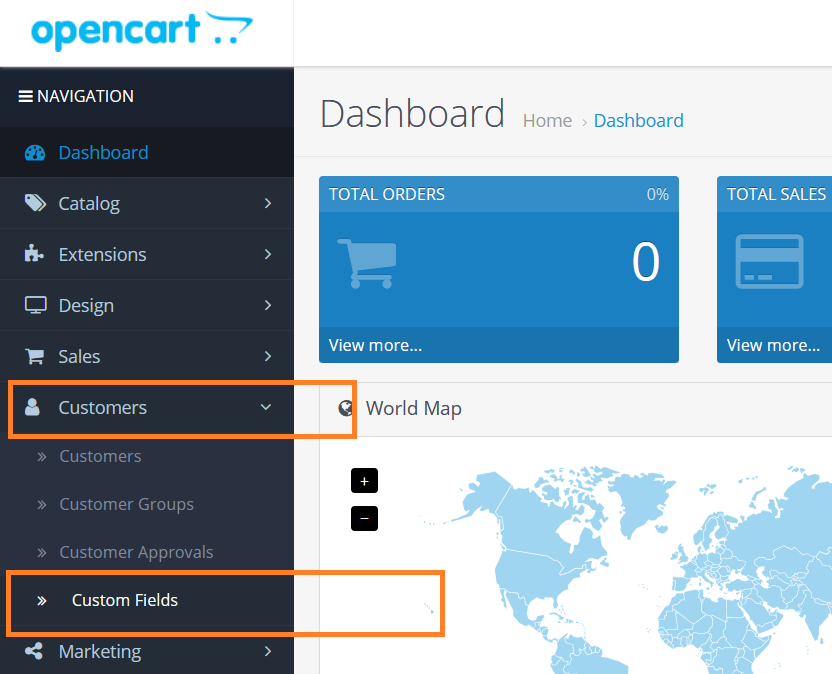
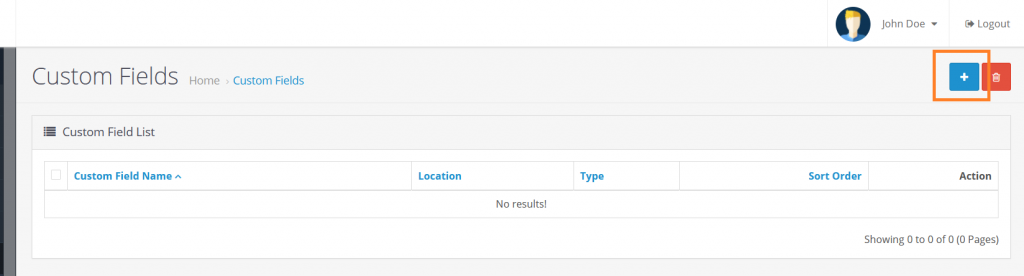
Step 2: Navigate to Custom Fields
-
On the dashboard, in the left sidebar, click Customers → Custom Fields.
-
Click the Add New button.
Step 3: Configure the Custom Field
-
Enter the Name of the field (e.g., “Region”).
-
Choose the Location where the field will display (e.g., Account, Address).
-
Select the Type of input (text, select, checkbox, radio, etc.).
-
Fill in other required options such as:
-
Customer Group → Assign the field to specific groups.
-
Required → Decide if the field must be filled in.
-
Status → Set to Enabled.
-
Step 4: Save and Apply
-
Click Save to add the new field.
-
The custom field will now appear on the registration form.
Example
If you add a Region field:
-
Customers will see a new input box labeled “Region” during registration.
-
The data will be stored in their account profile.
Important Notes
|


